How to Shingle a Shed Roof in Utah
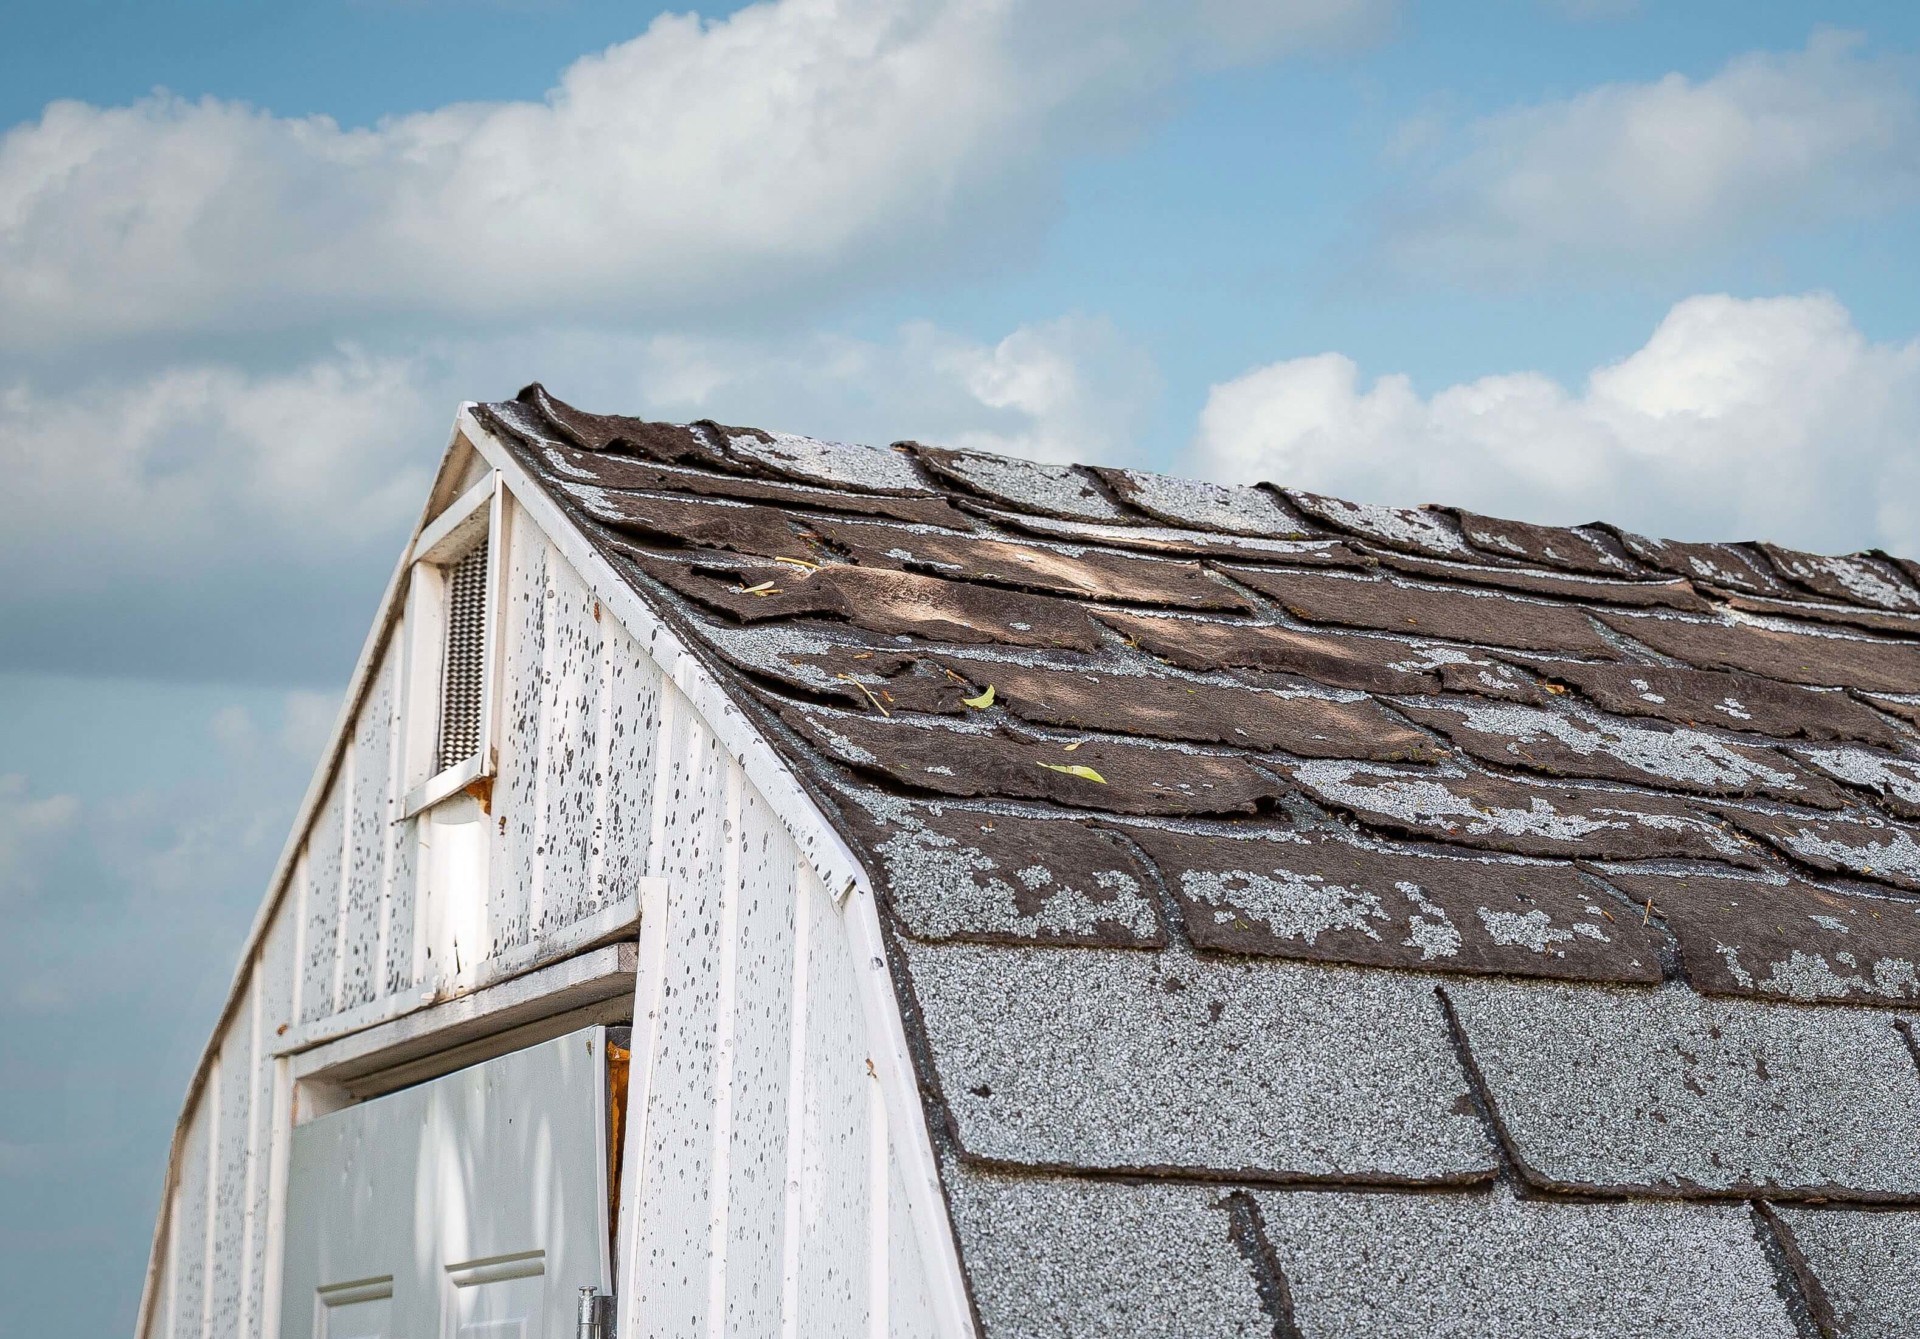
Shingles are designed to protect your roof from strong UV rays, harsh snow and wind, and critters and debris that might otherwise end up in your home. Likewise, shingles on your shed help protect the entire roofing system from the elements. This is especially important in places like Utah, where the elements can be extreme. And when those shingles wear out, you’ll want to replace them with fresh shingles that can adequately protect your shed from leaks and other roofing problems.
If your shed shingles are cracked, brittle, or falling off, it may be time to install new shingles. So how do you start shingles on a shed roof? And how do you shingle a shed ridge?
Fortunately, installing shingles on a shed roof is fairly straightforward. With a little research and guidance, you’ll have all the tools you need to do the job yourself. Check out our guide for everything you need to know about how to shingle a shed roof.
Before You Begin
Before you begin adding new shingles to your shed, it’s important to make sure your roof structure is in good shape. The roofing frame is like the foundation of your roof, and if there are problems with the frame, all of your hard work will be wasted. In Utah, the weather offers heavy rains and snowfall, which can quickly damage a poorly constructed frame. Check the roof frame for warping, rotting, or moisture before you begin. If the roof structure looks good, you can move on to the next steps.
Step-by-Step Guide to Shingling a Shed Roof:
1. Safely Position Your Ladder
Every roofing project should start by safely positioning your ladder. Make sure the ladder is placed on smooth, even ground and that the ladder is positioned roughly at a 75-degree angle.
2. Remove Shingles
Now it’s time to remove any remaining shingles using a pry bar. Push down in the opposite direction of the shingles to get rid of the nails and shingles all at once. Work your way across the rows until you have removed all shingles. Do not remove the metal drip edge (if your shed has one).
3. Install Roofing Felt
Wondering what the best way to felt a shed roof is? Start by situating the felt in the bottom-left corner of the roof. Then unroll the felt slowly until it is completely spread across the roof, making sure the edges are aligned. Next, nail down the felt with a hammer and roofing nail, securing the felt every few feet.
Once you’re done, cut off any excess felt using a utility knife. Start the process over again with the next row, making sure to overlap the felt by a few inches. Remember that the felt will also be secured by nails from the shingles, so no need to go overboard on nailing.
4. Nail Starter Shingles to the Roof
Cut the tabs off the sheets of starter shingles, then position the rest of the shingle on the roof, with ¼ inch hanging over the edge. This will make the starter course, ensuring the edge of the roof is covered during the installation process. Move across the edge of the roof until the bottom edge is covered with shingles.
5. Install Shingles
With the starter shingles in place, you might be asking: Where do you nail shingles? Each shingle should be secured with 4-6 nails, evenly dispersed across the shingle. Install the three-tab shingles starting from the bottom-left corner. Move across the row, then start a new row by cutting 6 inches off of the left side of the shingle.
Install it above the existing row of shingles, leaving 5 inches of the first row exposed. This will stagger the cutouts of the shingle and make sure the roof is protected from water.
6. Cover the Ridge with Shingles
Finally, cover the ridge with shingles by cutting the three-tab shingles to match those on the other side. Place the shingles in the center of the ridge, then secure them by nailing into the edges of the tabs. Trim the excess shingles so they are aligned with the roof edge. Given Utah’s significant snowfall, installing an ice and water shield along the eaves can provide extra protection against ice dams.
Get Help with Your Roof Repair Today
If you still have questions about how to shingle a shed roof, American Roofing Company can help. As the leading roofers in the Salt Lake area since 1954, American Roofing can help with any roofing repair or replacement services you may need. We have experience with asphalt shingles, single-ply membrane roofs, and everything in between. Contact us today to learn more about our shed roofing services.
